PART 1- April 2023
I have wanted to build a Keyhole Garden for years. This year I decided to do it. My intention is to build it with only materials I have here on the farm.
Here is an article on keyhole gardens with pictures of various types built of different materials. For more pics go to Pinterest and just type in Keyhole Garden.
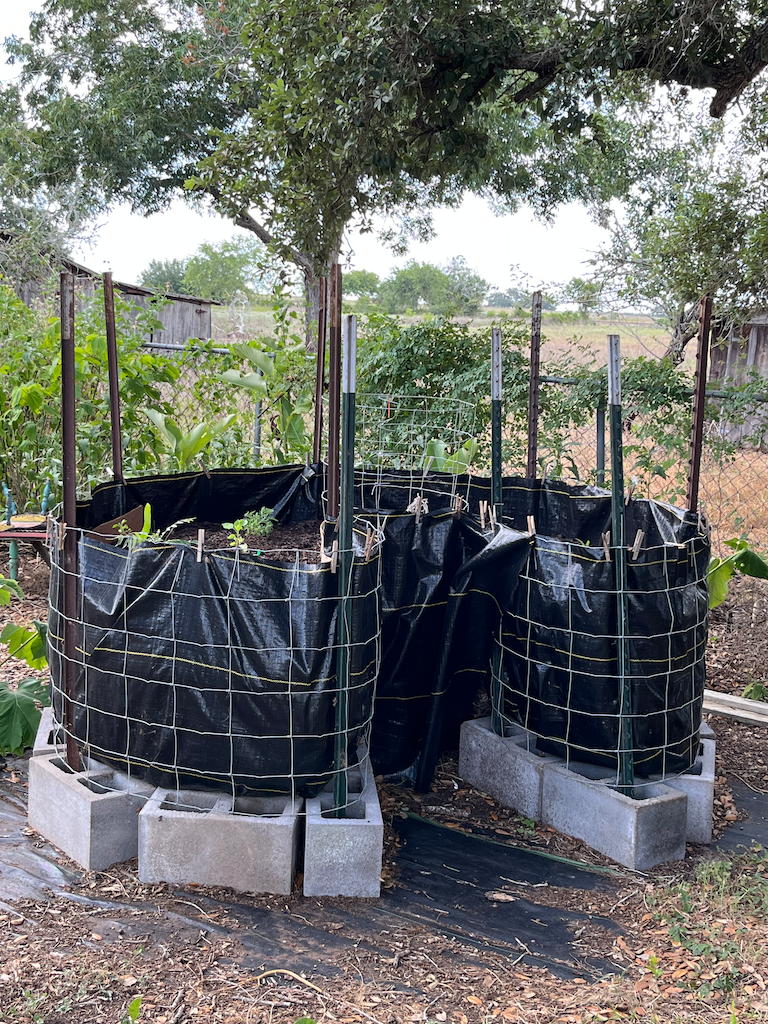
I worked on the Keyhole Garden during April and I’m pleased with the progress. A lovely friend came and helped me one day and we got the cement blocks laid for the base, the t-posts in to support the wire around the bed and the wire run and secured.
The Process
In case you’re wondering, it’s 6 feel in diameter.

Cement Block Base for the Keyhole Garden
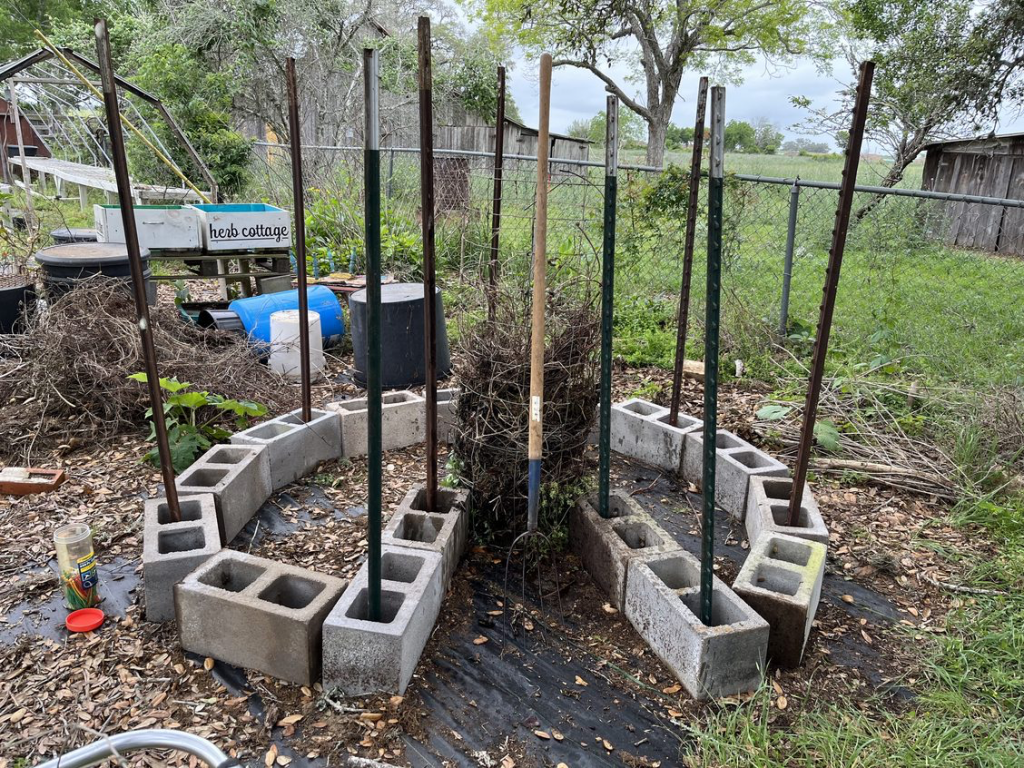
T-posts installed to hold the surrounding wire. Also, you can see the center cage with debris in it to form the compost cage that will feed the garden.
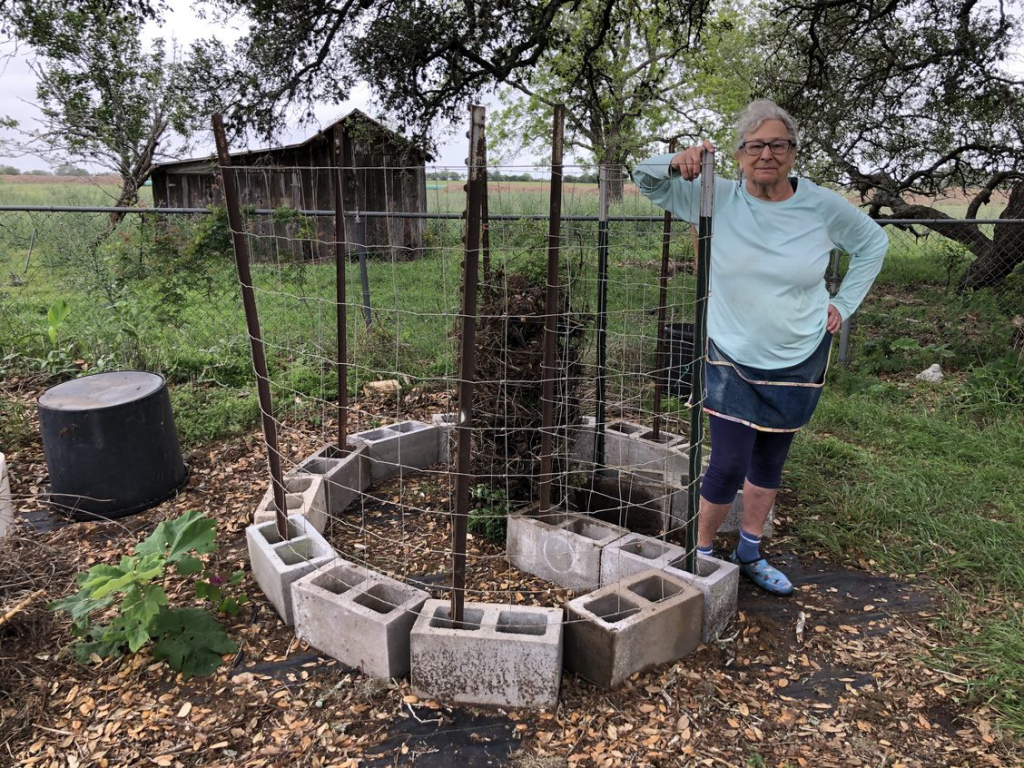
Yours Truly proudly showing off the wire surrounding the bed.
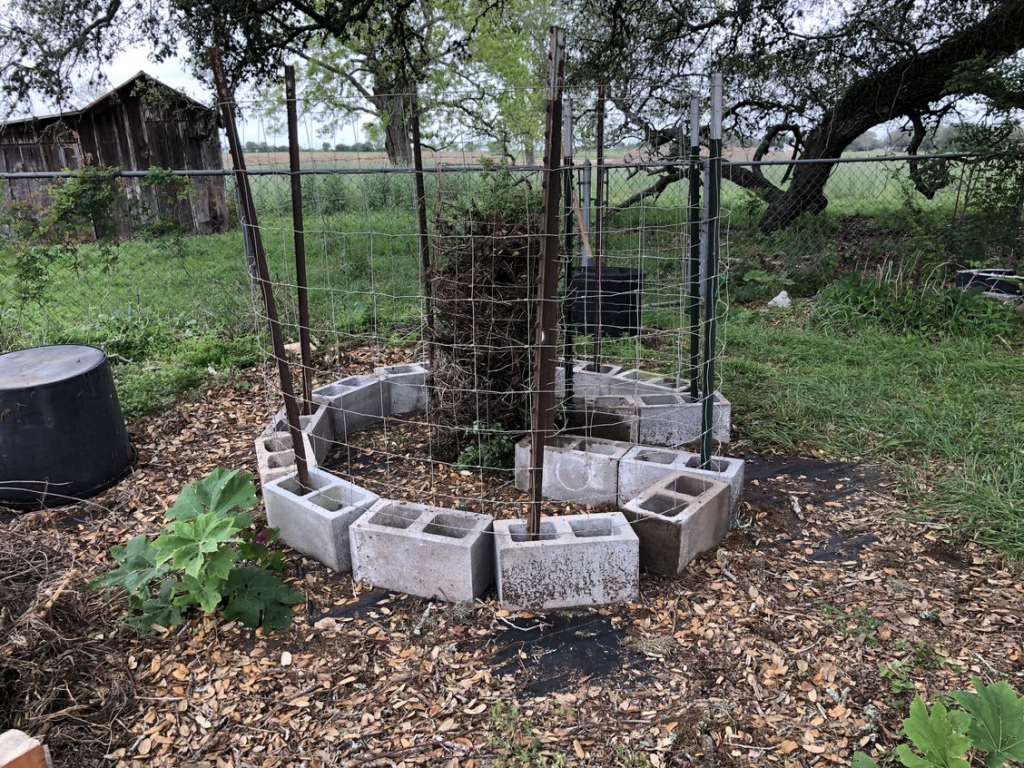
This is how we left it the day my friend was here to help.
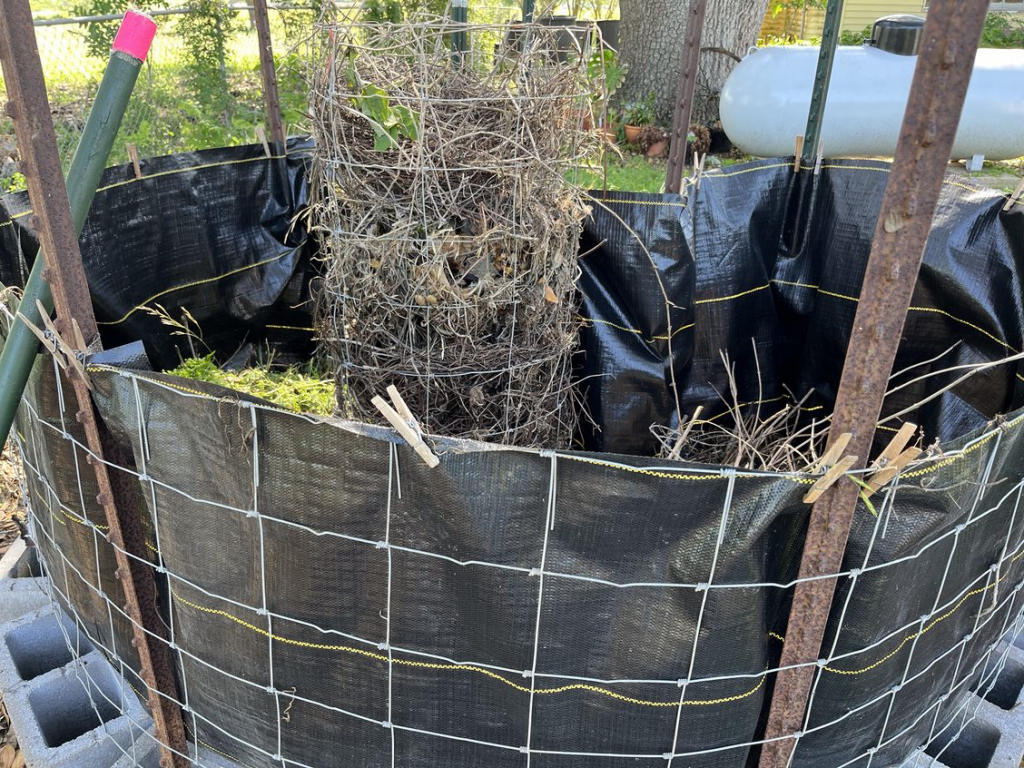
The next day I cut the wire down to about 3 feet and lined it with landscape fabric secured with trusty clothespins. I started adding debris into the area around the compost cage.
I also rebuilt the ingredients in the compost cage. There was too much dried stuff in it. I removed the dried material and added it to the outside ring. Then I added grass clippings, kitchen waste and leaves to the compost cage. I’m using it as my regular compost now.
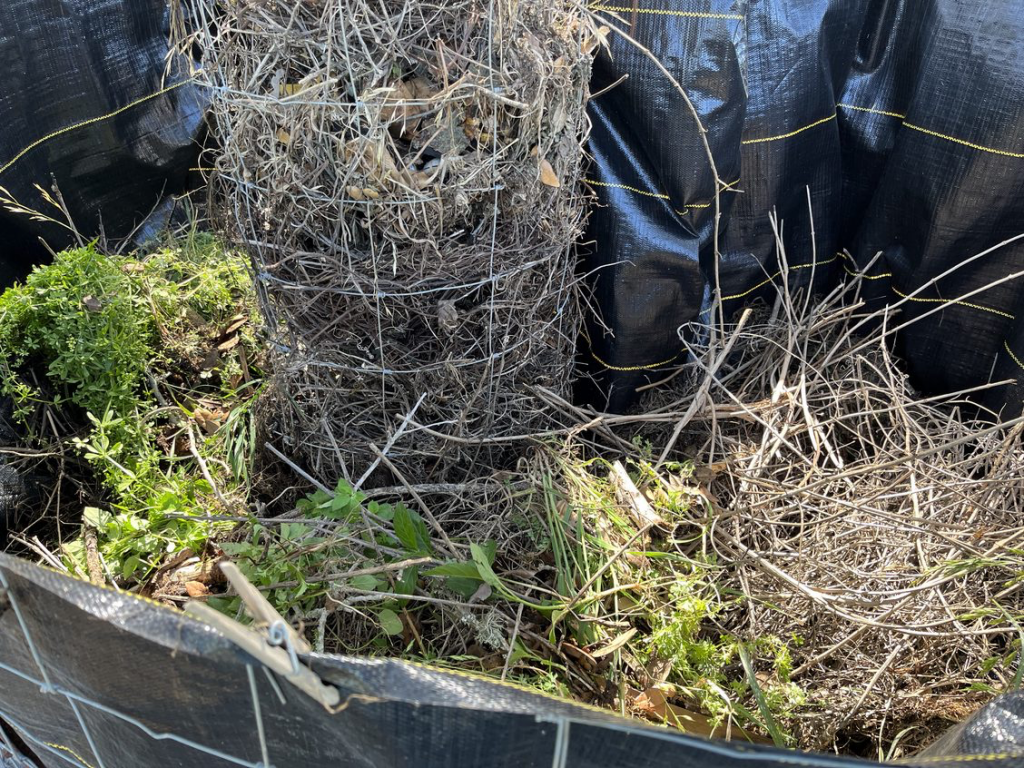
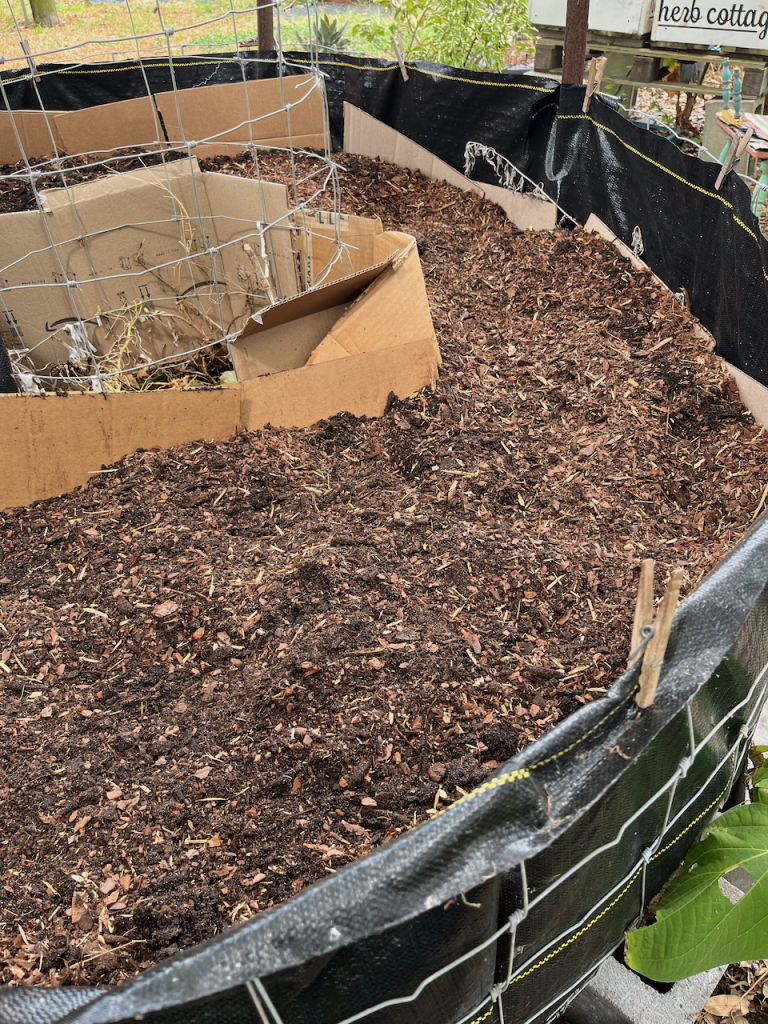
Here’s a better shot of the inside of the garden. I’m still at the stage of adding stuff that will go under the planting bed. With all the rain we’ve had, the piles have reduced considerably, so I’ll need to add more stuff. I have dead branches and other garden debris in there.
When the outer ring is filled to about a foot below the top, I’ll add pieces of cardboard on top of all the debris and then fill with a planting mix. And, voila, it’ll be done, ready for planing. I’m looking forward to seeing what I’ll put in there.
PART 2- Early July 2023
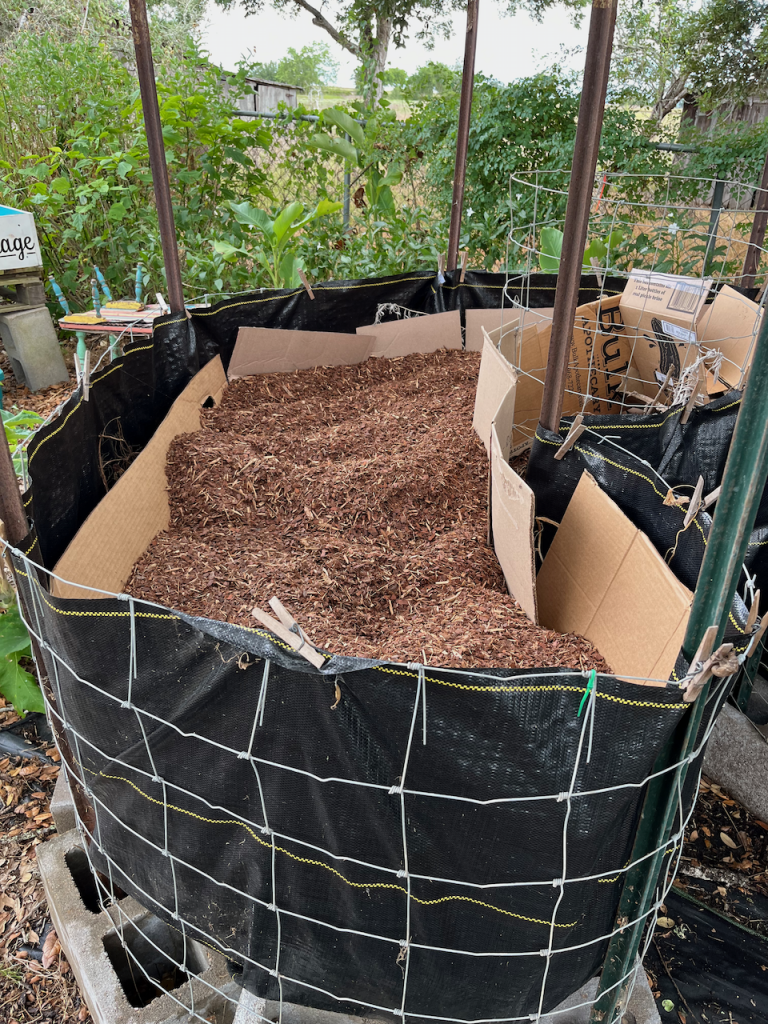
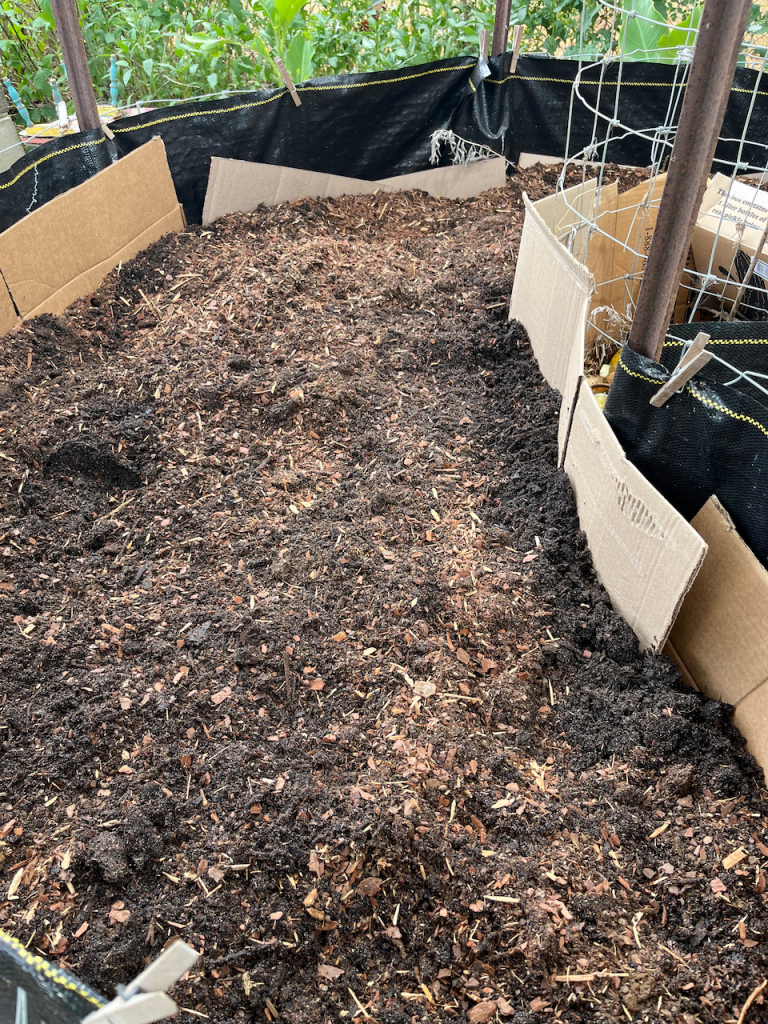
I resumed working on the Keyhole garden in earnest right around July 4. I had been adding debris to the outer ring and deemed it high enough to the top of the fence that I could move onto the next step- filling the bed with planting mix.
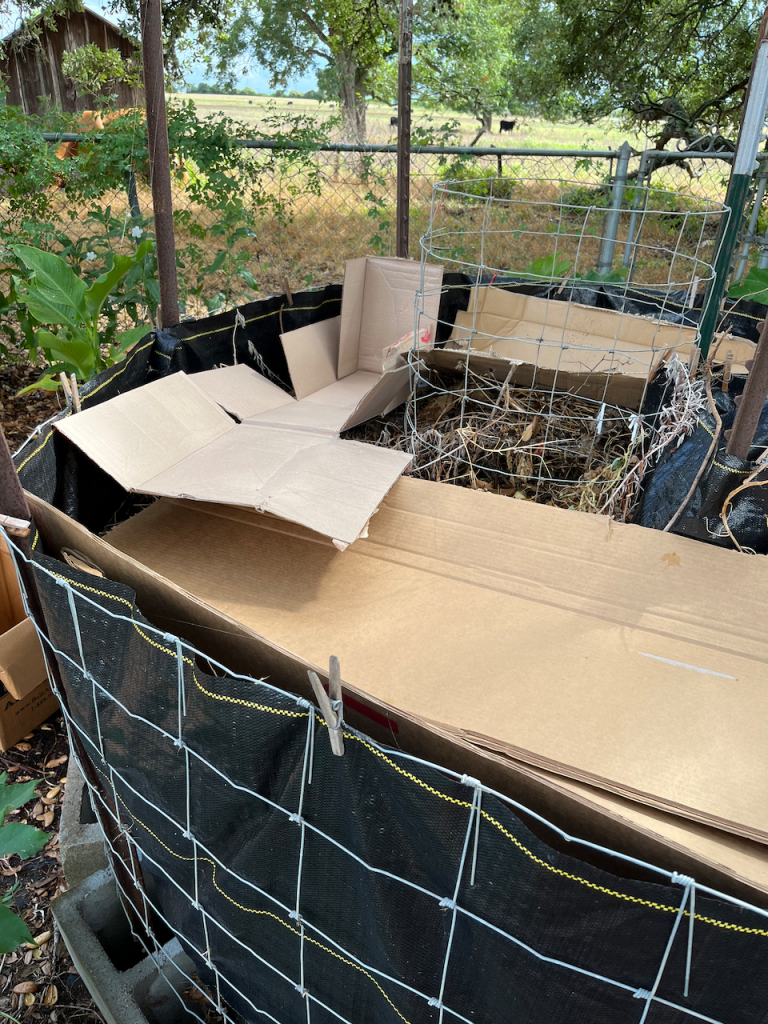
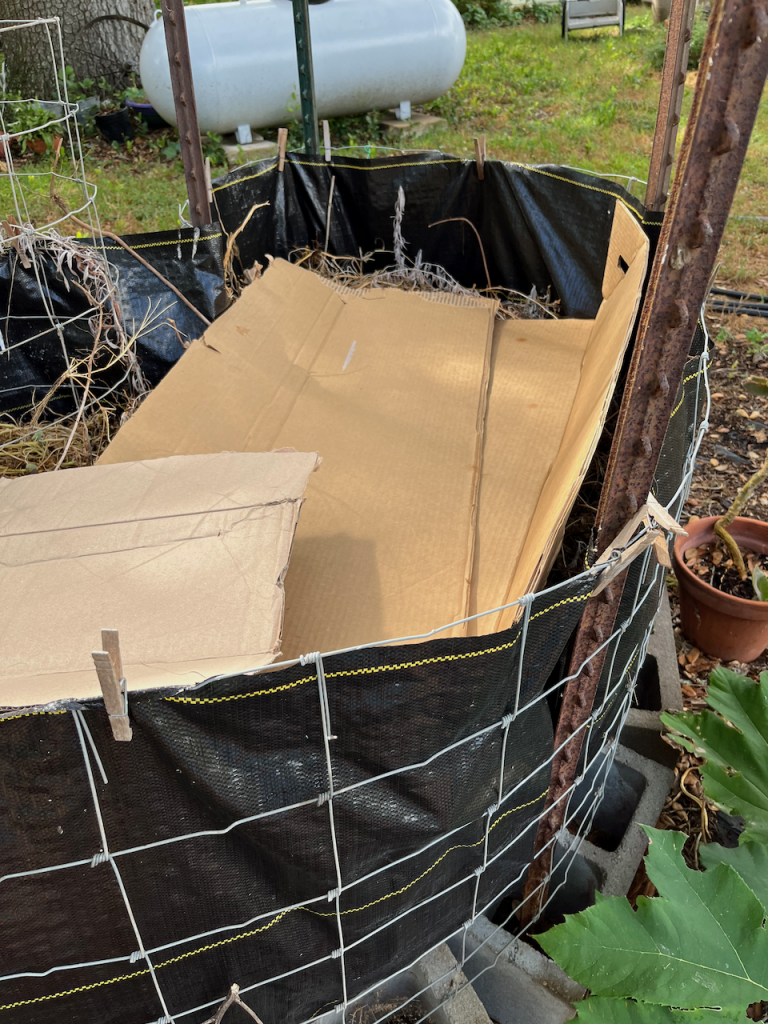
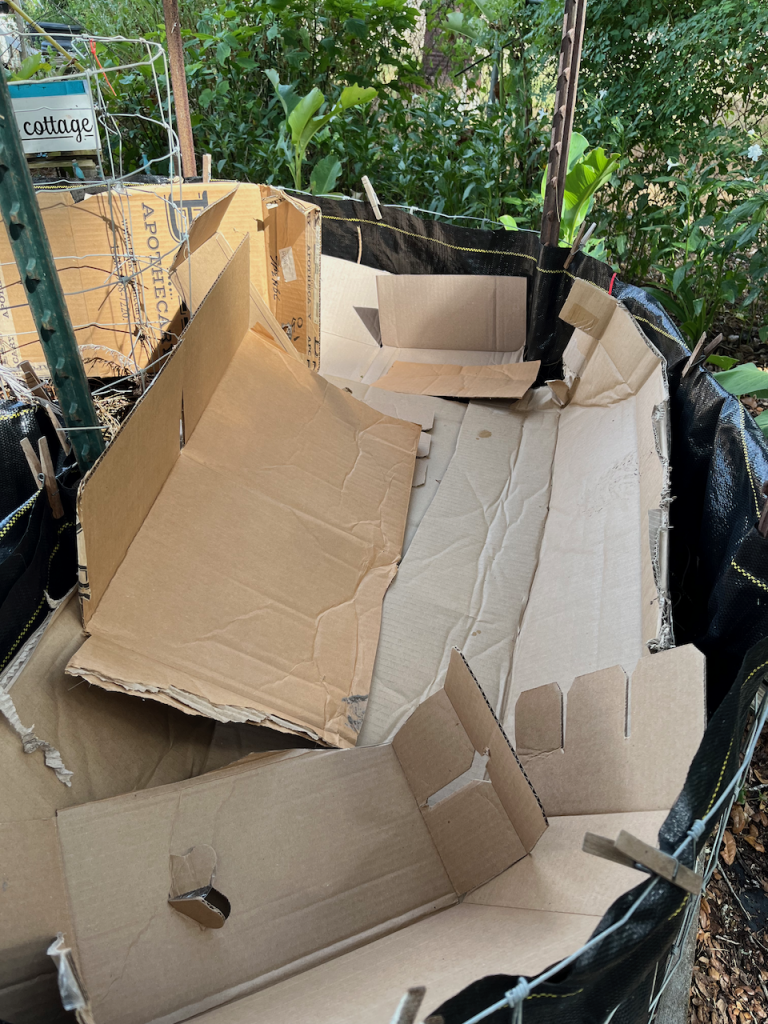
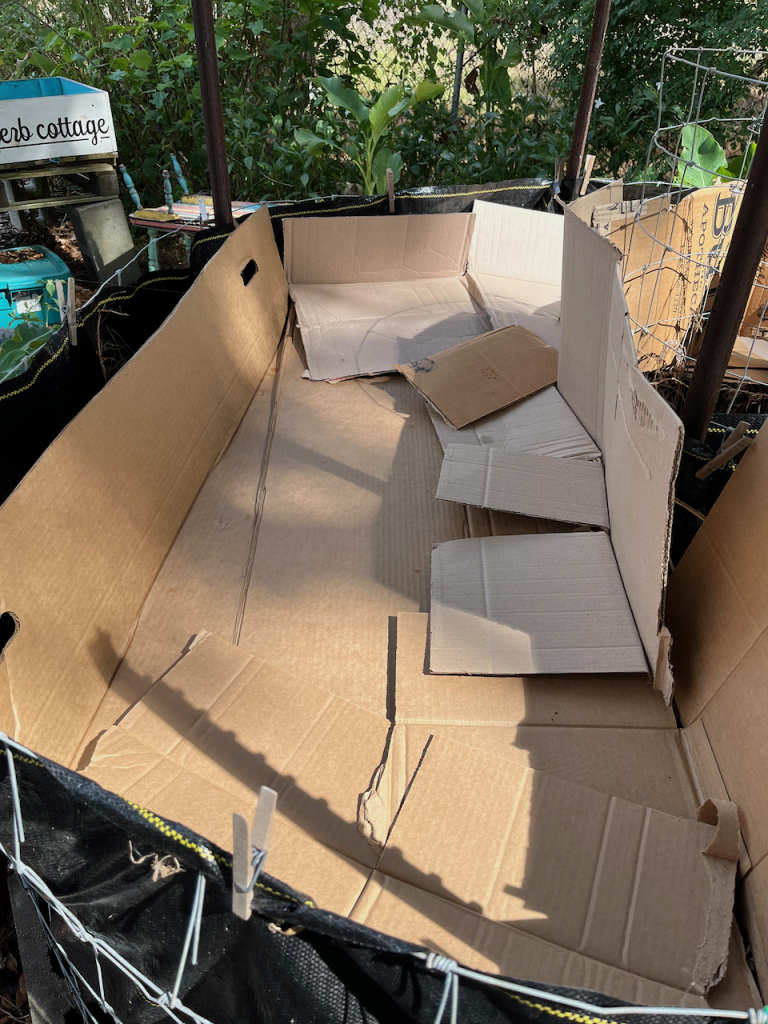
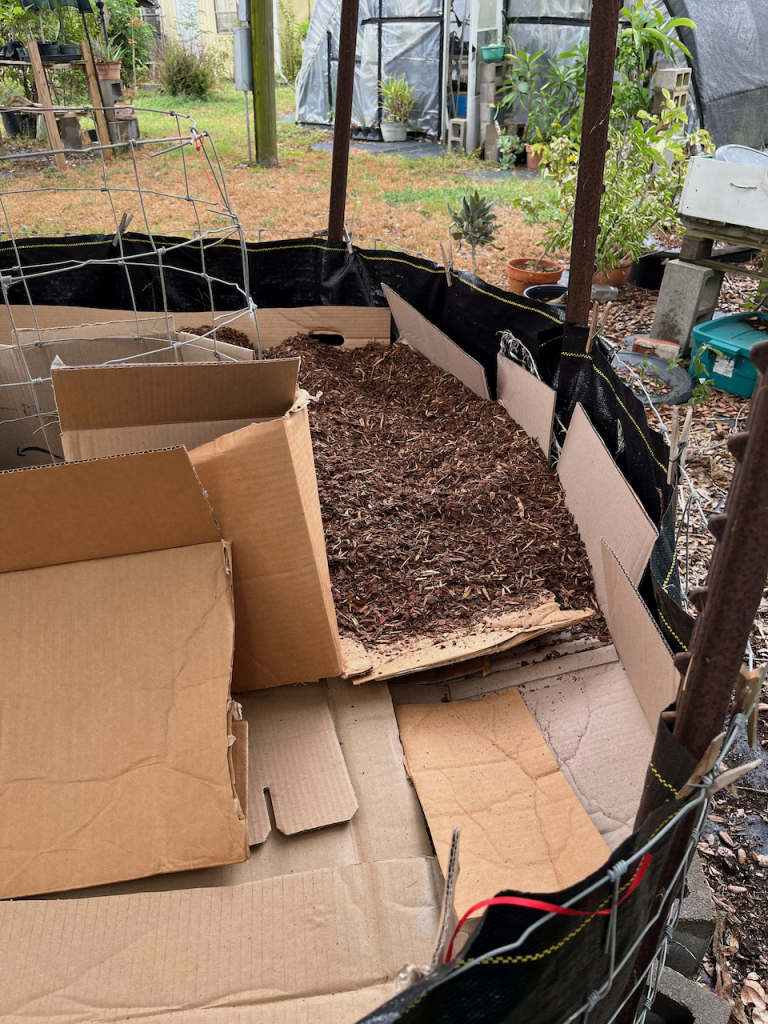
First I need to put a layer of cardboard over the whole planting area so the planting mix doesn’t just filter through the porous layer of debris. It was not as easy as I thought!
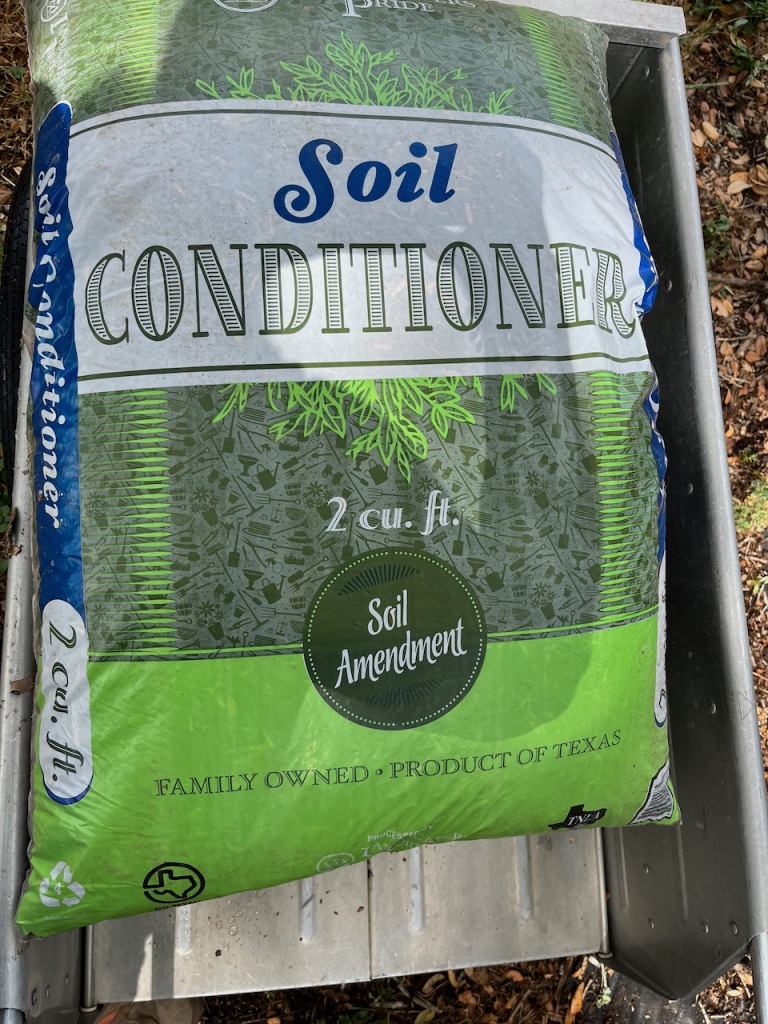
Adding the planting mix
Luckily we had just purchased a new hot water heater and I still had the box for that plus other large boxes I’ve been saving. Making the boxes fit around the circle was a bit frustrating.

The Fun Part!
After I deemed there was enough soil, I decided to plant a few tiny plants that I think will do better in the garden than in the tiny pots. There are 4 hot peppers, some parsley, lemon catnip, chives and some pots with tender plants.
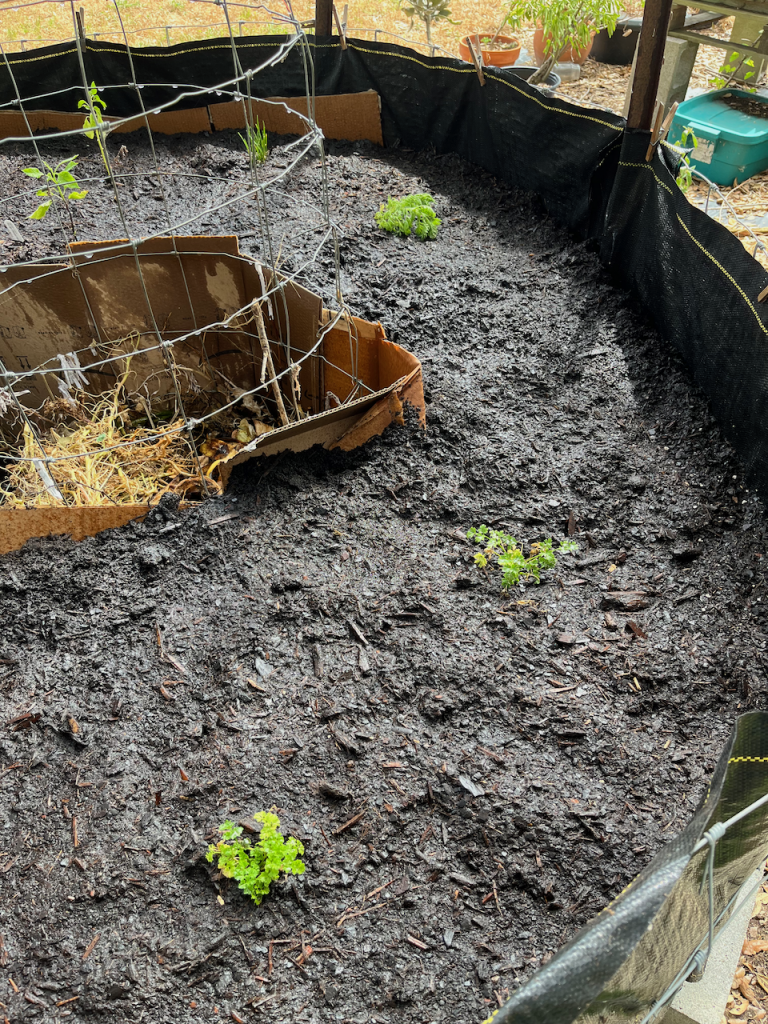
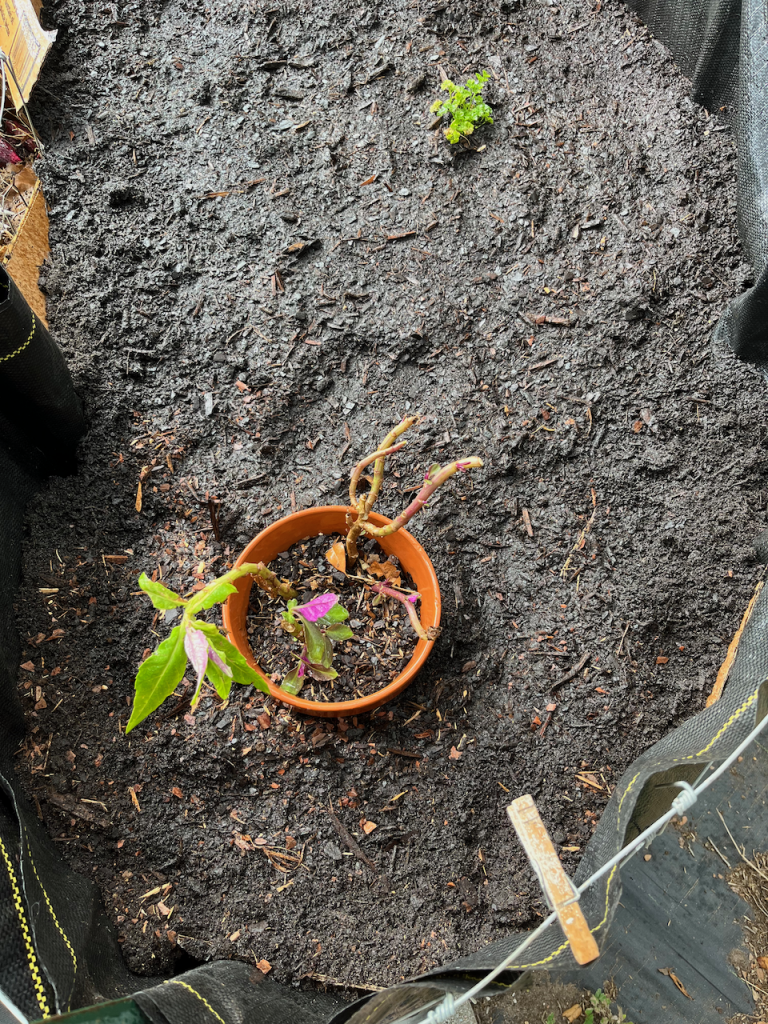
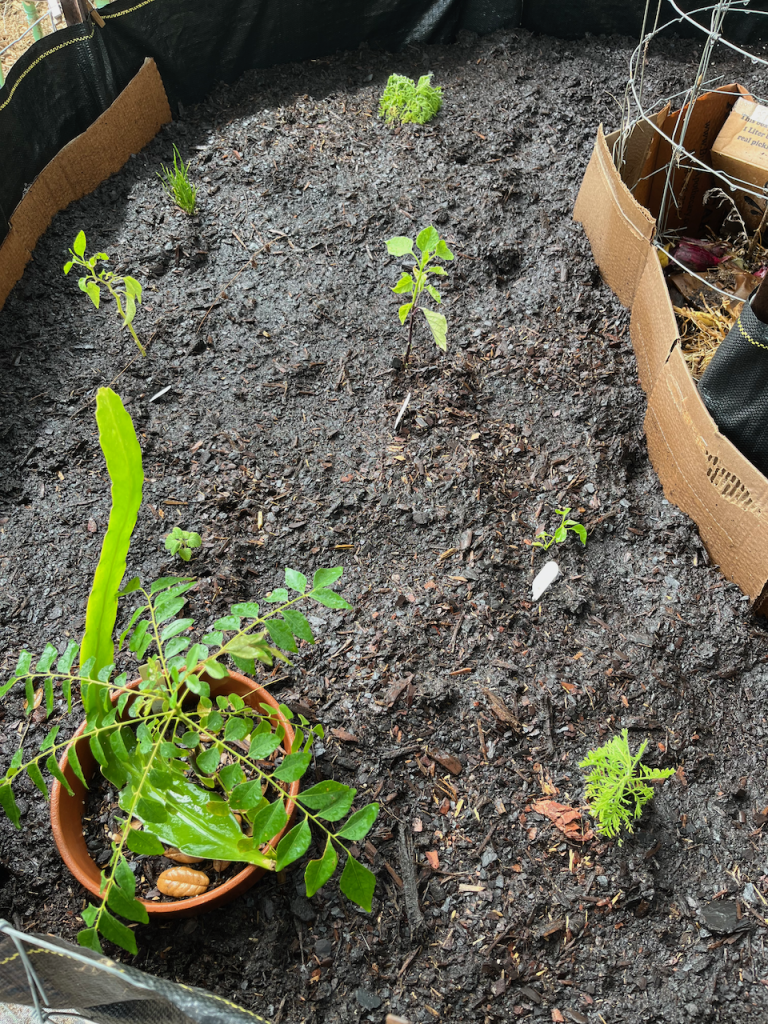
Pleased with the Result

So I’ve finished the Keyhole Garden for now. It’s usable. After wanting to do one for so many years, I’m thrilled as can be that it’s done. I’ll probably add fertilizer this fall because the compost isn’t ready inside the cage yet to sufficiently feed the garden. I intend to plant vegetables in the bed for the fall and winter. Let’s see: carrots, beets, leafy greens, lettuce. I won’t be surprised when a few herbs sneak in there- Dill, chervil and maybe some thyme- all good winter crops.
Till Next Time,
Good Gardening to You!
Cindy